The outdoor lighting installation process begins with a detailed site assessment and design consultation, followed by transformer and wiring setup, fixture placement, and final testing to ensure every light performs as intended. Professional installers evaluate your property’s electrical capacity, map lighting zones based on your goals, and run low-voltage cable through carefully planned pathways before connecting fixtures and programming controls. The entire process typically takes one to three days depending on project scope and complexity.
Proper outdoor lighting changes how you use your property after sunset. Strategic placement highlights architectural features, improves safety on walkways and steps, and extends usable hours for patios and outdoor living areas. The difference between a successful installation and a disappointing one lies in the technical details that happen behind the scenes.
Why Professional Installation Matters for Your Property
Outdoor lighting systems involve more than screwing in bulbs. A professional approach accounts for voltage drop across cable runs, appropriate transformer sizing, and fixture placement that avoids glare while delivering the desired effect. Homeowners who attempt DIY installations often discover their lights dim at the end of runs, transformers trip under load, or fixtures create harsh shadows instead of welcoming ambiance.
Licensed installers understand local electrical codes and permitting requirements. They know how to integrate outdoor lighting with existing landscape elements without damaging irrigation lines, tree roots, or underground utilities. This expertise prevents costly repairs and ensures your system operates reliably for years.
Initial Consultation and Site Assessment
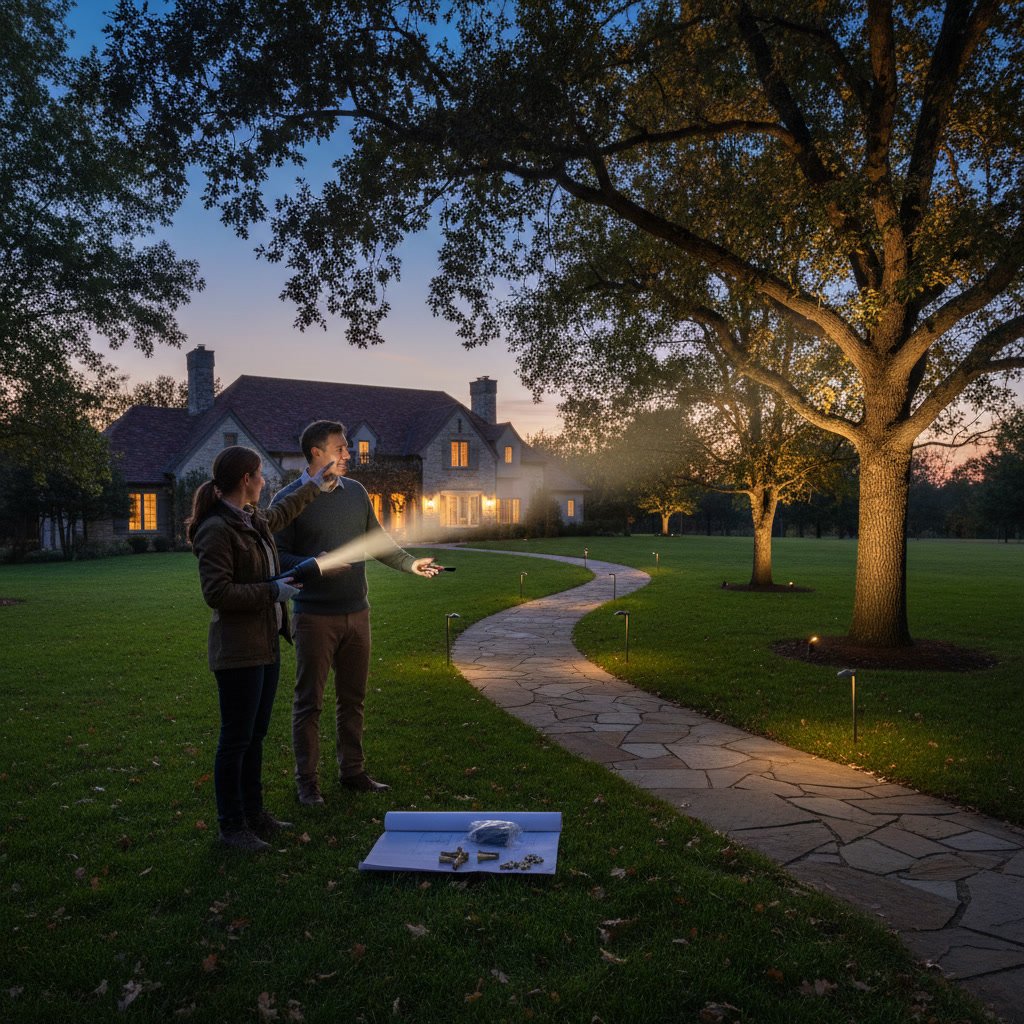
The first step involves walking your property with the installer to identify priority areas. You’ll discuss which features deserve highlighting, whether you need security lighting near entry points, and how you use outdoor spaces after dark. The installer evaluates existing electrical service, measures distances from the main panel or exterior outlets, and notes obstacles like mature trees, hardscaping, or underground sprinkler systems.
During this phase, installers photograph your property and sketch preliminary layouts. They calculate the total wattage required based on fixture counts and types, then determine whether your electrical service can support the added load. Properties with extensive landscape design elements often require multiple lighting zones controlled independently.
Creating a Lighting Design That Works
Design focuses on balancing aesthetics with function. Path lights typically space 8 to 10 feet apart for continuous illumination without overlapping pools of light. Uplighting for trees works best when fixtures sit 12 to 18 inches from the trunk, angled to wash the canopy without creating hot spots. Wall-mounted fixtures on homes should mount at consistent heights, usually 66 to 72 inches above grade.
The designer selects fixture styles that complement your home’s architecture and assigns appropriate wattages. A common mistake involves over-lighting, which creates a commercial parking lot feel instead of subtle enhancement. Professional designers use layering techniques, combining ambient lighting for general visibility, task lighting for specific activities, and accent lighting to draw attention to focal points.
Choosing the Right Transformer and Controls
Transformers convert standard 120-volt household current to the 12-volt or 15-volt systems most landscape lighting uses. Sizing matters because undersized transformers overheat and fail, while oversized units waste money. Installers calculate total connected load and multiply by 1.25 to ensure adequate capacity with headroom for future expansion.
Modern transformers include built-in timers, photocells, and smart controls that integrate with home automation systems. You can program different zones to activate at different times, dim pathway lighting after midnight to save energy, or adjust brightness seasonally. Quality transformers feature multiple taps that allow installers to compensate for voltage drop on longer cable runs, ensuring consistent brightness across all fixtures.
Mapping Cable Runs and Voltage Planning
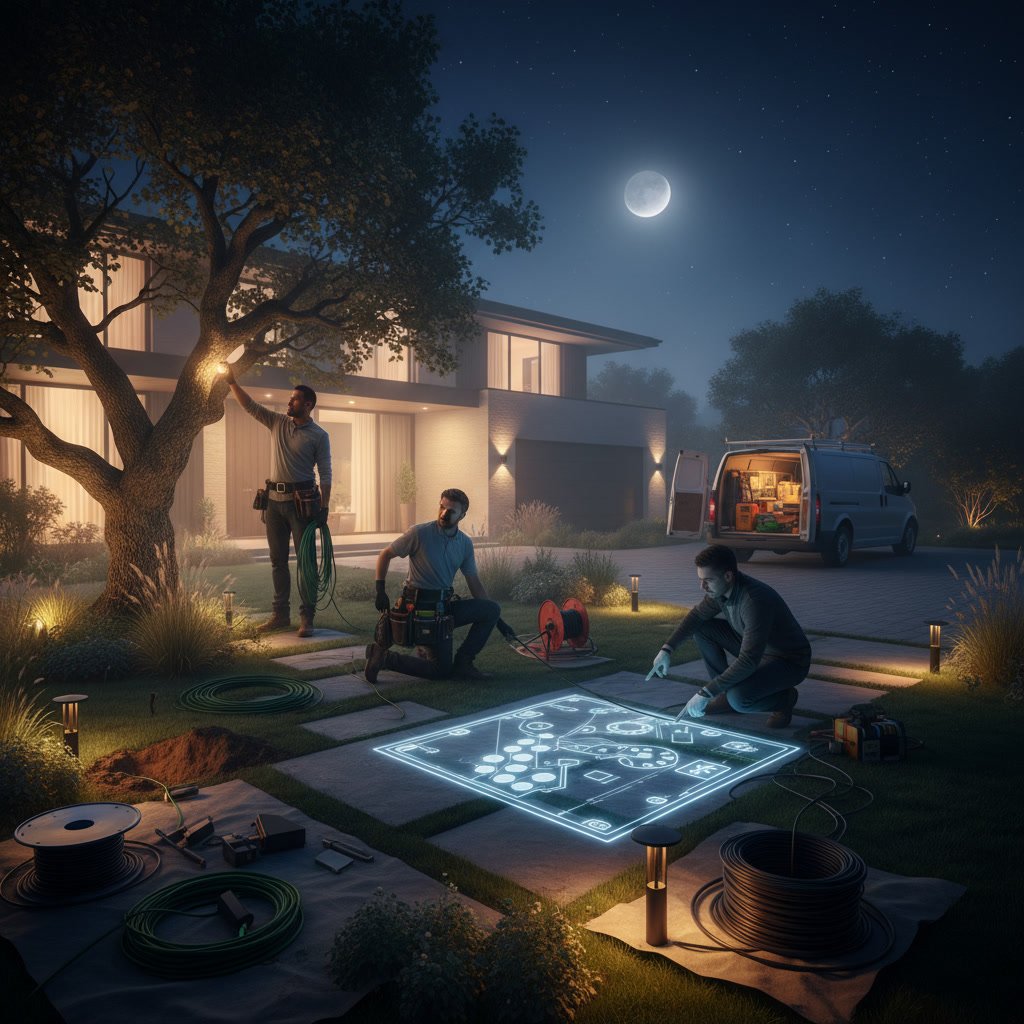
Cable routing determines whether your lights perform evenly. Low-voltage systems experience voltage drop over distance, meaning fixtures farthest from the transformer receive less power and appear dimmer. Professional installers use larger gauge wire (10 or 12 AWG instead of 14 or 16) for main runs, keeping total distance under 100 feet per circuit when possible.
The hub method runs individual home-run cables from the transformer to each fixture, eliminating voltage drop but using more wire. The daisy-chain approach connects multiple fixtures along a single cable, which works well if you calculate load carefully and use appropriate wire gauge. Many installations combine both methods, using dedicated runs for high-priority accent lights and shared circuits for path lighting.
Excavation and Trenching in Lindenhurst Properties
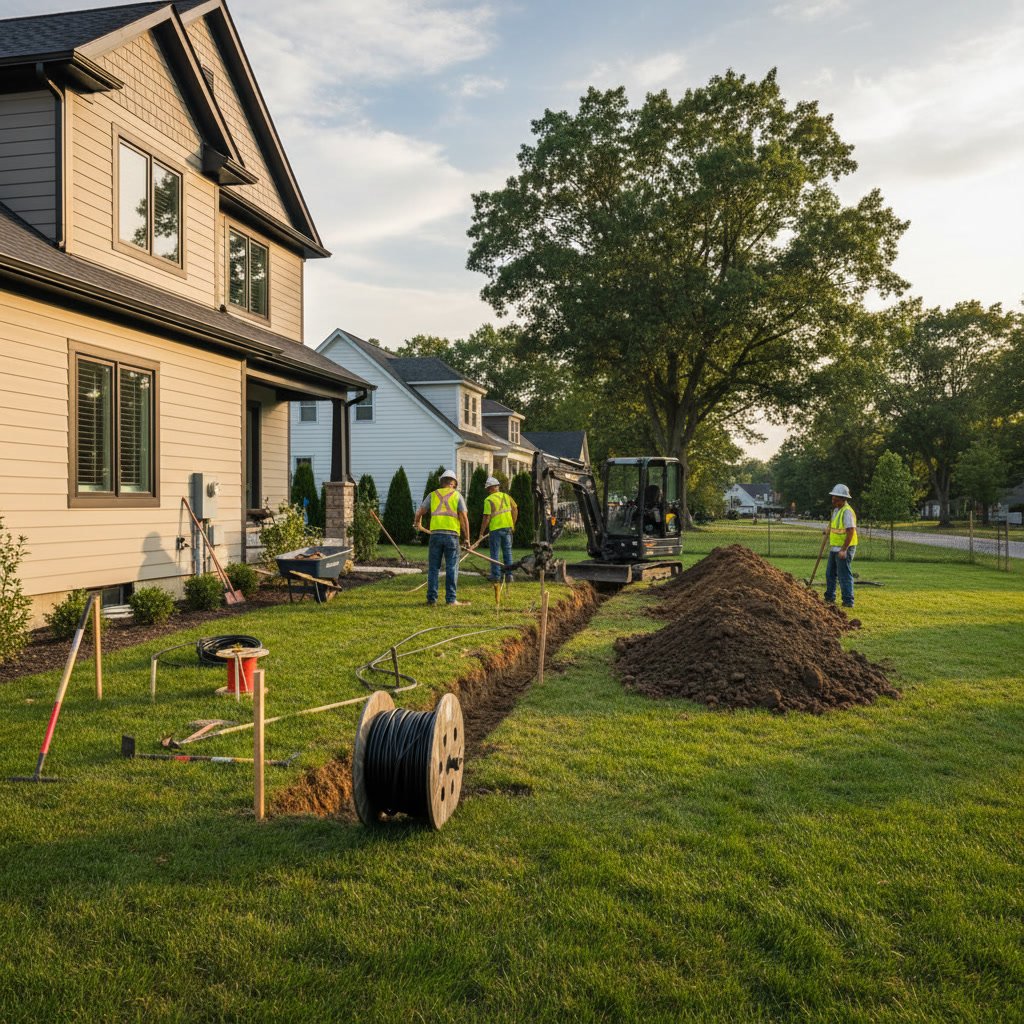
Before digging, installers call 811 to mark underground utilities. Trenches for low-voltage lighting typically run 6 to 8 inches deep, though some municipalities require deeper burial or conduit protection. In areas with established landscapes, installers use narrow trenching tools or vibratory plows that minimize turf disruption.
Properties with multiple outdoor features require careful coordination. If you’re adding lighting alongside fire features or water elements, installers plan routes that avoid future access needs. They photograph cable paths before backfilling, creating records that prevent accidental cuts during future projects like planting or hardscape additions.
Installing Fixtures and Making Connections
Fixture installation follows the planned layout with adjustments for on-site conditions. Installers set path lights at consistent heights and angles, ensuring uniform spacing and beam patterns. Uplights require stable mounting, either staked into soil or mounted to hardscape, with adjustable heads aimed precisely at the target feature.
All connections use waterproof wire nuts, gel-filled connectors, or proprietary quick-connect systems designed for direct burial. Proper technique matters because moisture infiltration causes corrosion and failure. Installers apply silicone dielectric grease to connections and ensure positive mechanical contact before sealing. Each fixture gets tested individually before moving to the next.
Integrating With Existing Outdoor Systems
Outdoor lighting rarely exists in isolation. Installers coordinate with irrigation schedules to avoid conflicts where lights and sprinkler heads occupy the same zones. Properties with gas work for fire pits or grills require careful planning to prevent cable damage near gas lines.
Smart home integration allows your lighting to respond to motion sensors, sync with indoor scenes, or adjust automatically based on sunset times. Systems can integrate with security cameras, activating flood lights when motion triggers recording. The installer programs these relationships during commissioning, testing each scenario to confirm proper operation.
Testing, Adjustments, and Final Walkthrough
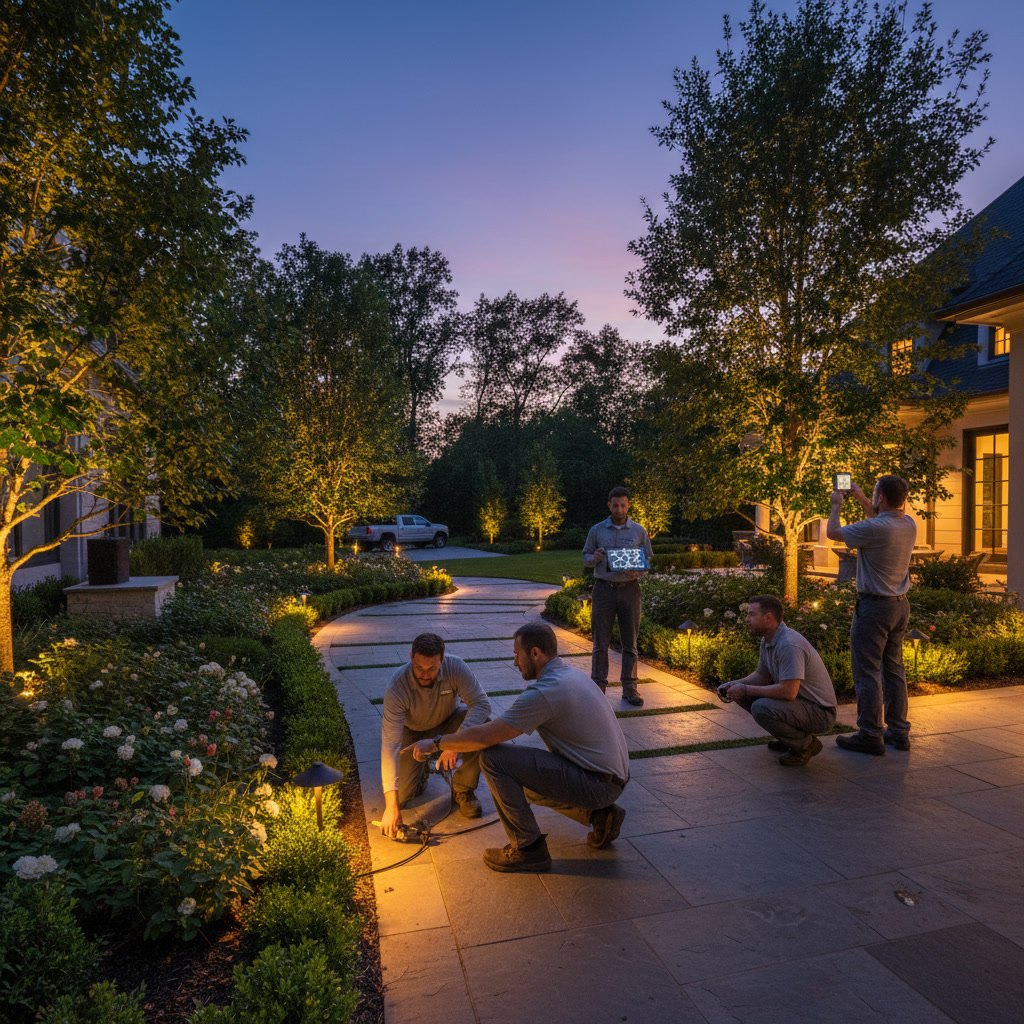
After installation, the electrician measures voltage at each fixture to confirm adequate power delivery. Adjustments involve tweaking transformer taps, repositioning fixtures that create unwanted glare, or adding shields to control beam spread. The goal is balanced lighting where no single fixture dominates and the overall effect feels cohesive.
The final walkthrough happens after dark when you can see actual performance. You’ll verify that path lighting provides safe navigation, accent lights highlight intended features without creating harsh shadows, and control systems operate intuitively. Installers make on-the-spot adjustments to aim or intensity based on your feedback.
Maintenance Requirements for Long-Term Performance
Quality installations require minimal maintenance but benefit from annual service. Technicians clean lenses that accumulate dirt and debris, tighten connections that vibrate loose over seasons, and trim vegetation that grows to block light paths. They inspect transformers for corrosion, test photocells and timers, and verify all fixtures still aim correctly.
LED technology dominates modern installations because bulbs last 25,000 to 50,000 hours compared to 2,000 hours for halogen. When LEDs do fail, the entire fixture often requires replacement rather than just the bulb. Professional maintenance includes updating older halogen systems to LED, which reduces energy consumption by 75 percent while improving light quality and reducing replacement frequency.
Getting Professional Results for Your Outdoor Space
Understanding each phase of professional installation helps you recognize quality work and ask informed questions during the planning process. The difference between adequate lighting and exceptional results comes from attention to technical details like voltage calculation, proper wire sizing, and precise fixture aiming that casual installers often overlook.
Your outdoor lighting should enhance how you experience your property while adding value and security. Systems designed and installed by experienced professionals deliver consistent performance, integrate seamlessly with your landscape, and adapt as your needs change over time.
Clean Cut Landscaping LLC brings technical expertise and design experience to every outdoor lighting project. Our team handles everything from initial consultation through final testing, ensuring your system performs reliably and beautifully for years. If you’re ready to extend the usability of your outdoor space and highlight your property’s best features, call us at +16315301109 to schedule a site assessment and discover what professional lighting can do for your home.