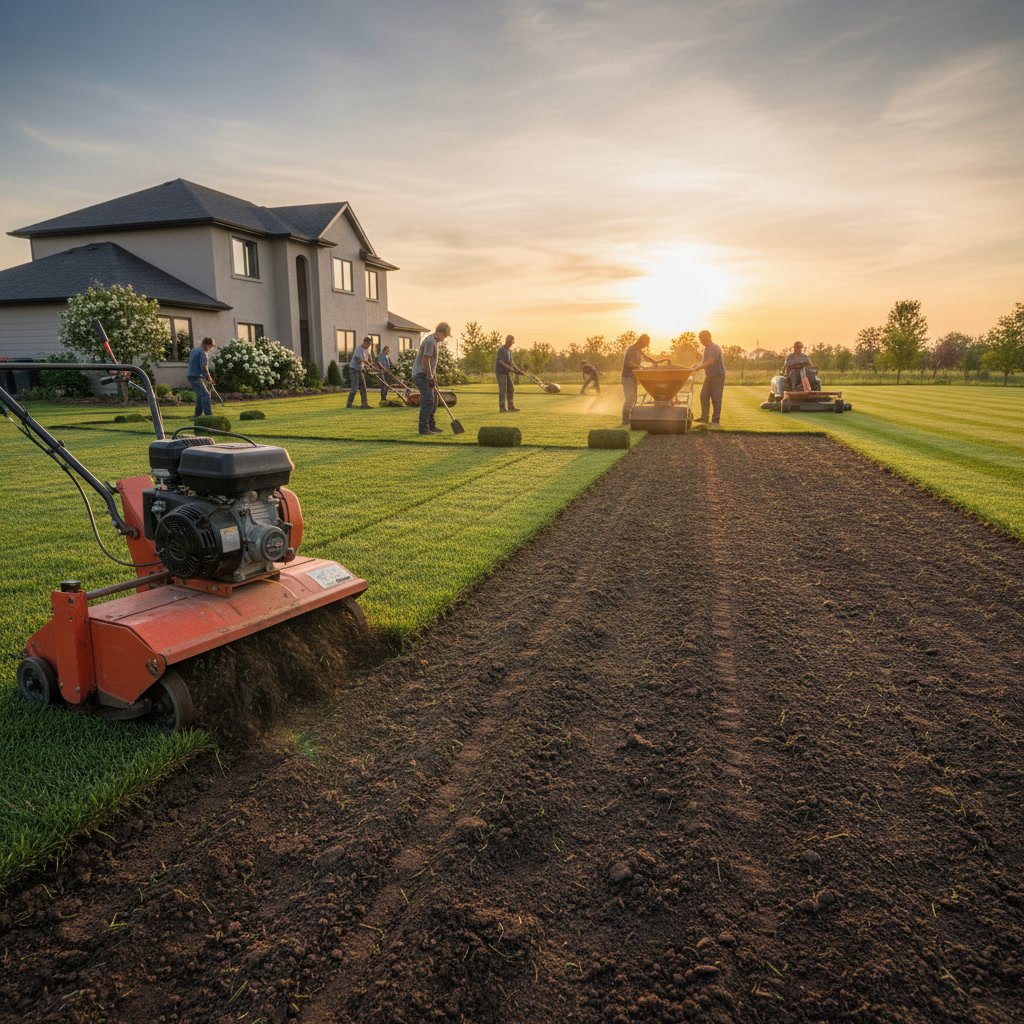
Professional sod installation begins with thorough soil testing and preparation, followed by precise grading to ensure proper drainage. Once the soil is ready, fresh sod rolls are laid in a staggered brick pattern, watered immediately, and carefully monitored through the first two to three weeks until roots establish. Understanding how sod installation works helps property owners appreciate the expertise required to create a healthy, long-lasting lawn from day one.
Why New Sod Fails Without Proper Foundation Work
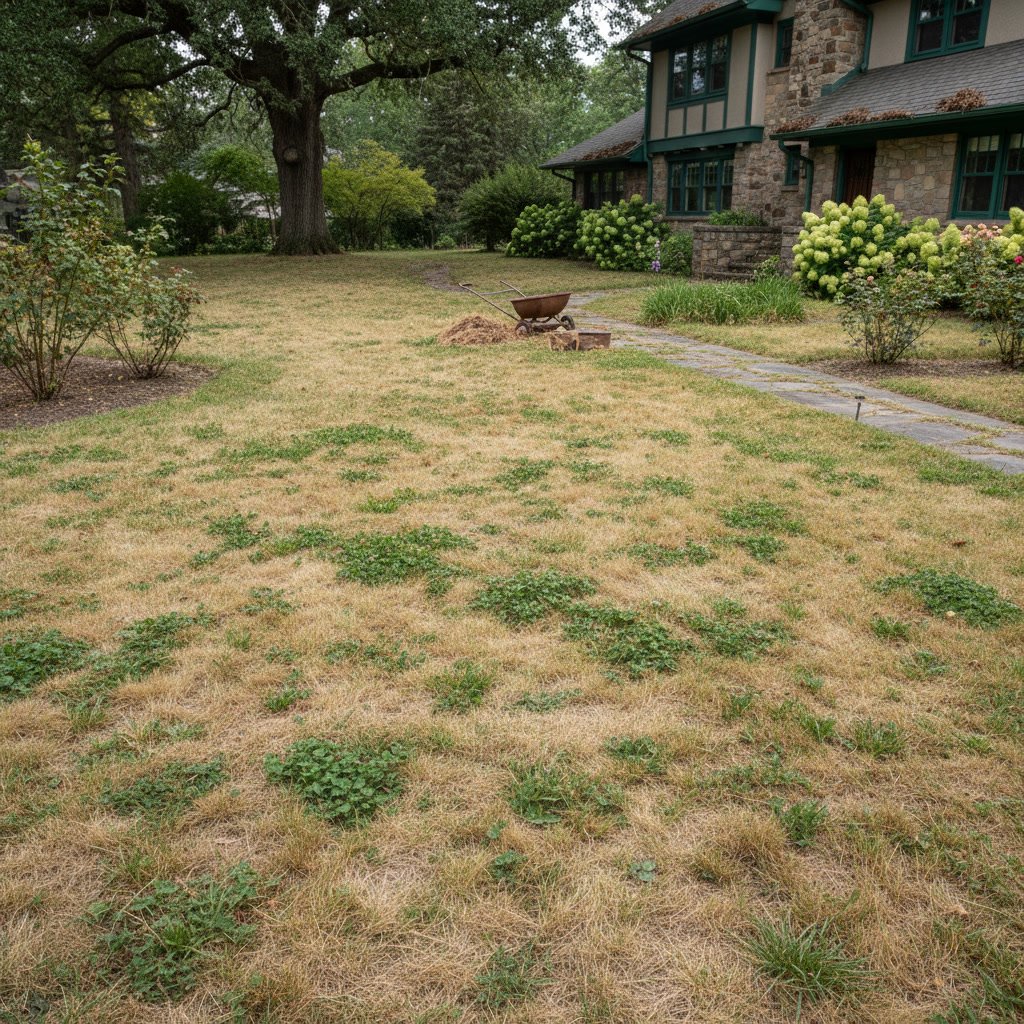
Many homeowners assume sod installation is as simple as laying grass over existing dirt. The reality is that without proper soil preparation, even the highest quality sod will struggle to root, leading to brown patches, uneven growth, and premature failure within the first season. Compacted soil prevents roots from penetrating deep enough to access moisture and nutrients, while poor drainage creates standing water that suffocates grass roots.
The foundation determines everything that follows. Skipping soil amendments or grading shortcuts may save an hour during installation, but they guarantee problems within weeks. Professional installers know that the invisible work beneath the sod matters more than the visible grass on top.
Soil Testing and Amendment Requirements Before Installation
The first step in any quality sod installation involves testing soil pH and nutrient levels. Most grass varieties thrive in soil with a pH between 6.0 and 7.0. If your soil tests outside this range, amendments such as lime to raise pH or sulfur to lower it become necessary before laying a single roll of sod.
Beyond pH, professionals assess soil composition. Heavy clay soils benefit from organic matter and sand to improve drainage, while sandy soils need compost to retain moisture and nutrients. A two to four inch layer of quality topsoil often gets spread and tilled into the existing base, creating an ideal growing medium. This preparation stage directly impacts how quickly roots establish and how resilient your lawn becomes during drought or heat stress.
Grading and Drainage Setup That Prevents Future Problems
Proper grading ensures water flows away from structures and doesn’t pool on the lawn surface. Installers use laser levels or transit equipment to create a gentle slope, typically one to two percent grade, directing runoff toward appropriate drainage areas. Low spots get filled, high spots get leveled, and the entire surface is smoothed to eliminate bumps that would create an uneven finished lawn.
This stage also addresses irrigation needs. If you plan to install an automated watering system, trenches and lines are laid before sod arrives. Coordinating irrigation design and installation with sod placement ensures everything integrates seamlessly without disturbing new grass once it’s down.
Selecting the Right Sod Variety for Long Island Conditions
Not all sod performs equally in every climate. For properties in coastal areas with variable moisture and salt exposure, choosing a grass variety adapted to local conditions makes the difference between a lawn that thrives and one that requires constant intervention. Cool-season grasses such as Kentucky bluegrass, perennial ryegrass, and tall fescue dominate Long Island installations because they tolerate the region’s cold winters and moderate summers.
Installers order sod cut fresh within 24 hours of installation to ensure maximum viability. The grass arrives on pallets, each roll typically covering about 10 square feet and weighing 35 to 45 pounds when moist. Timing the delivery to match the prepared site prevents the sod from sitting and deteriorating before it reaches the ground.
Step by Step Sod Layout and Installation Technique
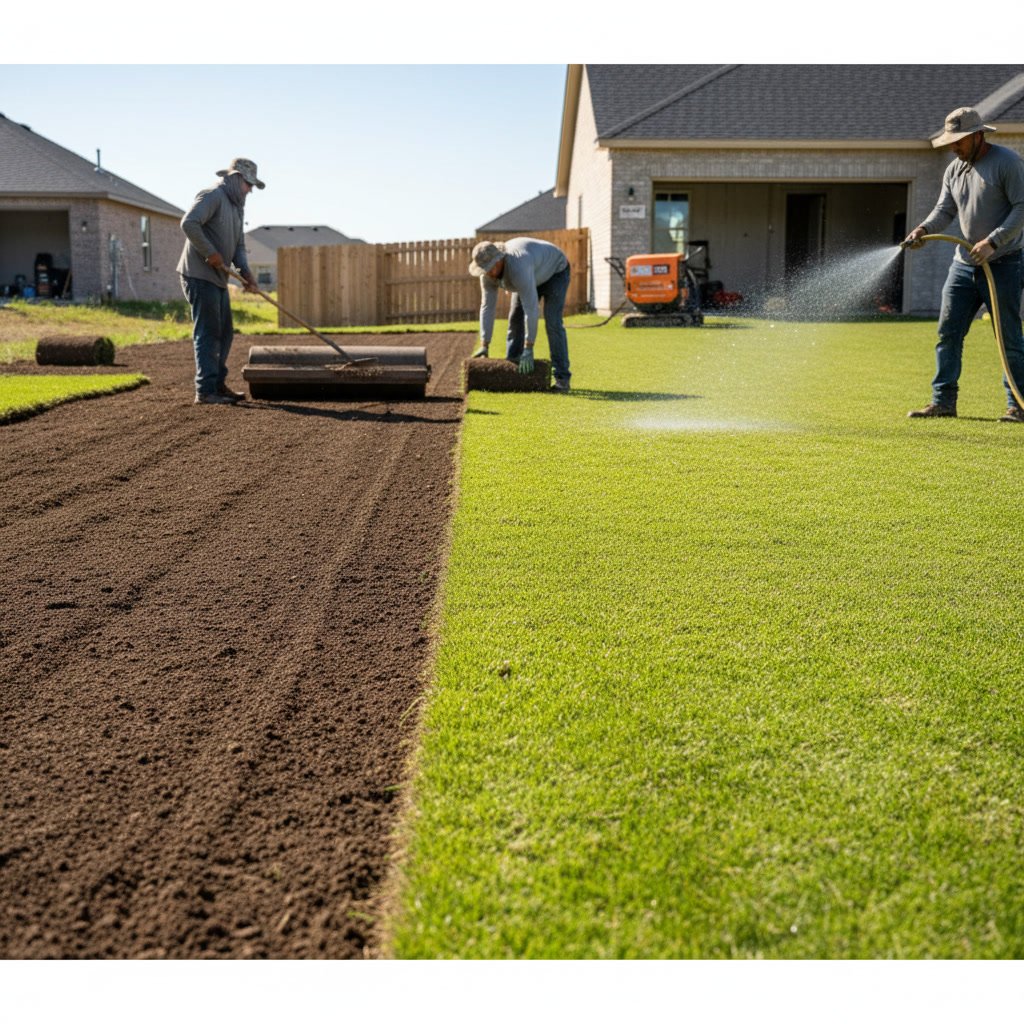
Installation begins along the longest straight edge, such as a driveway or walkway, to establish a clean reference line. Each piece of sod is laid tightly against the previous one with no gaps or overlaps. Seams between pieces are staggered like bricks in a wall, never allowing four corners to meet at one point. This pattern prevents visible lines from developing as the grass matures and helps the lawn knit together uniformly.
Installers use sharp knives to trim sod around curves, trees, sprinkler heads, and outdoor lighting fixtures. Each piece is tamped or rolled to ensure full contact between the sod’s root layer and the prepared soil beneath. Air pockets prevent roots from reaching moisture and nutrients, so eliminating gaps during installation is critical.
On slopes or uneven terrain, sod may be pinned with biodegradable stakes to prevent slippage until roots establish. The entire process moves quickly once started, with experienced crews covering thousands of square feet in a single day.
Immediate Watering Protocol After Sod Goes Down
The first watering happens within 30 minutes of installation. New sod requires enough water to soak through the grass layer and penetrate four to six inches into the soil below, ensuring the root zone stays moist. During the first week, light watering occurs two to three times daily to prevent the edges from drying and curling.
After the first week, watering frequency decreases but duration increases, encouraging roots to grow deeper rather than staying shallow. By week three, most sod transitions to a schedule similar to established lawns. Overwatering during this period causes as many problems as underwatering, leading to fungal issues and shallow root systems that struggle later.
Root Establishment Timeline and What Happens Beneath the Surface
Within the first seven to 10 days, new roots begin extending from the sod into the prepared soil. By day 14, you should be unable to lift a corner of the sod without significant resistance, indicating roots have anchored. Full establishment typically takes two to three weeks, though cooler temperatures or cloudy weather can extend this period.
During establishment, foot traffic should be minimized. Walking on new sod compresses the soil and disrupts fragile root development. Pets should also be kept off the area until roots have firmly anchored. Once established, the lawn becomes increasingly resilient, but those first weeks determine long-term health.
First Mowing Guidelines and Height Management in Lindenhurst
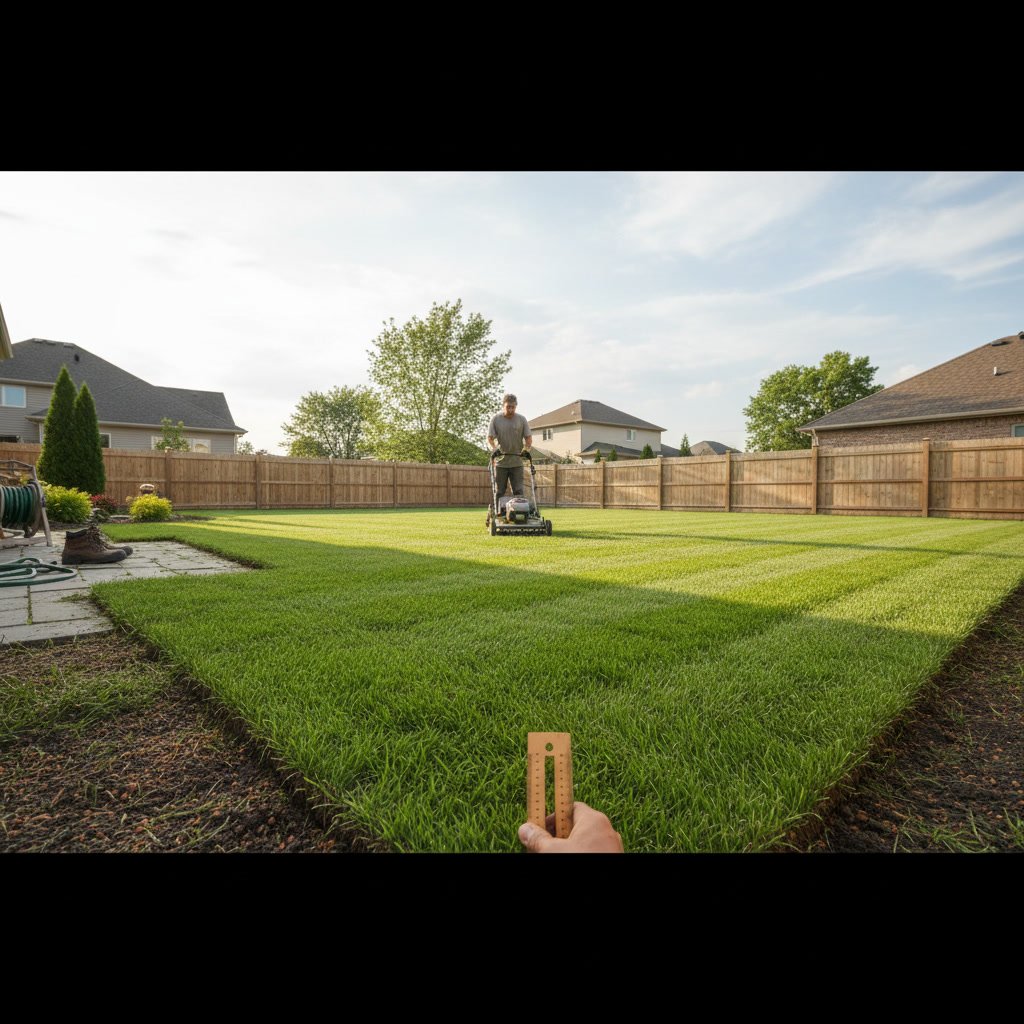
The first mowing happens when grass reaches about three to four inches in height, typically 10 to 14 days after installation. Mower blades must be sharp to avoid tearing the still-delicate grass, and cutting height should be set to remove no more than one-third of the blade length. For most cool-season grasses, this means maintaining a height around 2.5 to 3 inches.
Mowing too short stresses new grass and exposes soil to weed seeds and direct sun. Waiting too long allows grass to grow leggy and weak. The timing and technique of that first cut set the tone for ongoing lawn and landscape care routines.
Fertilization Schedule After Installation
New sod benefits from a starter fertilizer high in phosphorus, which encourages root development. This application typically happens either just before installation or immediately after the first watering. Four to six weeks post-installation, a second fertilizing treatment with a balanced formula supports top growth and color.
Avoid heavy nitrogen applications during the first month, as they push leaf growth at the expense of root establishment. The goal in early weeks is building a strong foundation below ground, not maximum green above. Once roots have fully established, regular feeding schedules can begin based on grass type and seasonal needs.
Common Installation Mistakes That Compromise Long Term Results
One frequent error involves installing sod over unprepared or compacted soil. Even if the grass looks green initially, roots cannot penetrate hard subsoil, leading to drought stress and thinning within months. Another mistake is failing to stagger seams properly, which creates visible lines that never fully disappear.
Poor grading that allows water to pool kills sod quickly, especially during heavy rain events. Installing sod during extreme heat or drought without adequate irrigation support also sets the project up for failure. Timing matters, and understanding the best time to install sod for your specific location prevents many of these issues.
Getting Professional Results That Last Beyond the First Season
Quality sod installation delivers immediate curb appeal and a functional lawn ready for use within weeks, not months. The difference between a professional installation and a rushed DIY attempt shows most clearly in year two and beyond, when properly rooted grass withstands drought, traffic, and seasonal stress without thinning or developing bare patches.
Attention to soil preparation, precise grading, proper variety selection, and disciplined watering during establishment separates installations that last from those that fail. Clean Cut Landscaping LLC brings over a decade of experience to every project, ensuring your new lawn performs beautifully from installation through every season that follows.
If you’re ready to transform your property with professional sod installation that’s done right the first time, reach out to discuss your project. Call +16315301109 to schedule a consultation and get expert guidance tailored to your landscape’s specific conditions and goals.