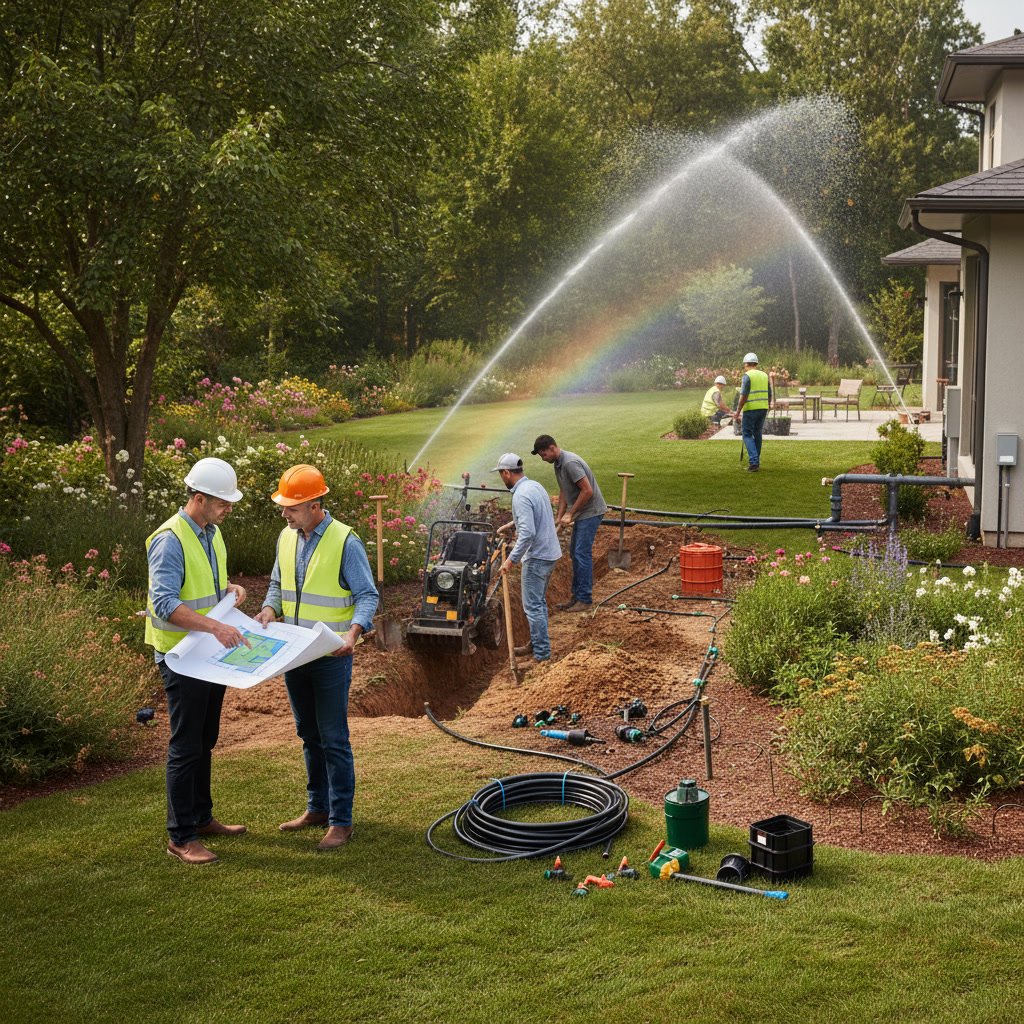
The irrigation installation process typically takes three to five days and involves seven distinct phases: initial site assessment, custom system design, material selection, underground installation, controller programming, hydraulic testing, and final adjustments. A properly installed system can reduce water waste by up to 50 percent compared to manual watering while maintaining healthier turf and plant beds throughout the growing season.
Many property owners assume irrigation is simply laying pipes and adding sprinkler heads, but professional installation requires precise hydraulic calculations, zoning strategies, and integration with existing landscape features. The difference between a functioning system and an efficient one often comes down to design choices made before the first shovel breaks ground.
Why Proper System Design Matters Before Installation Begins
Design determines everything from water pressure distribution to coverage uniformity across your property. A professional designer calculates flow rates, pipe sizing, and head spacing based on your water source capacity and landscape zones. Without these calculations, you risk dry spots, overwatered areas, and premature system failure.
Most residential properties require between four and eight zones to accommodate different plant water needs. Turf areas typically need different coverage patterns than tree and shrub beds, while slopes demand specialized low-precipitation nozzles to prevent runoff. The design phase identifies these requirements before materials are ordered.
The Initial Site Assessment and Consultation
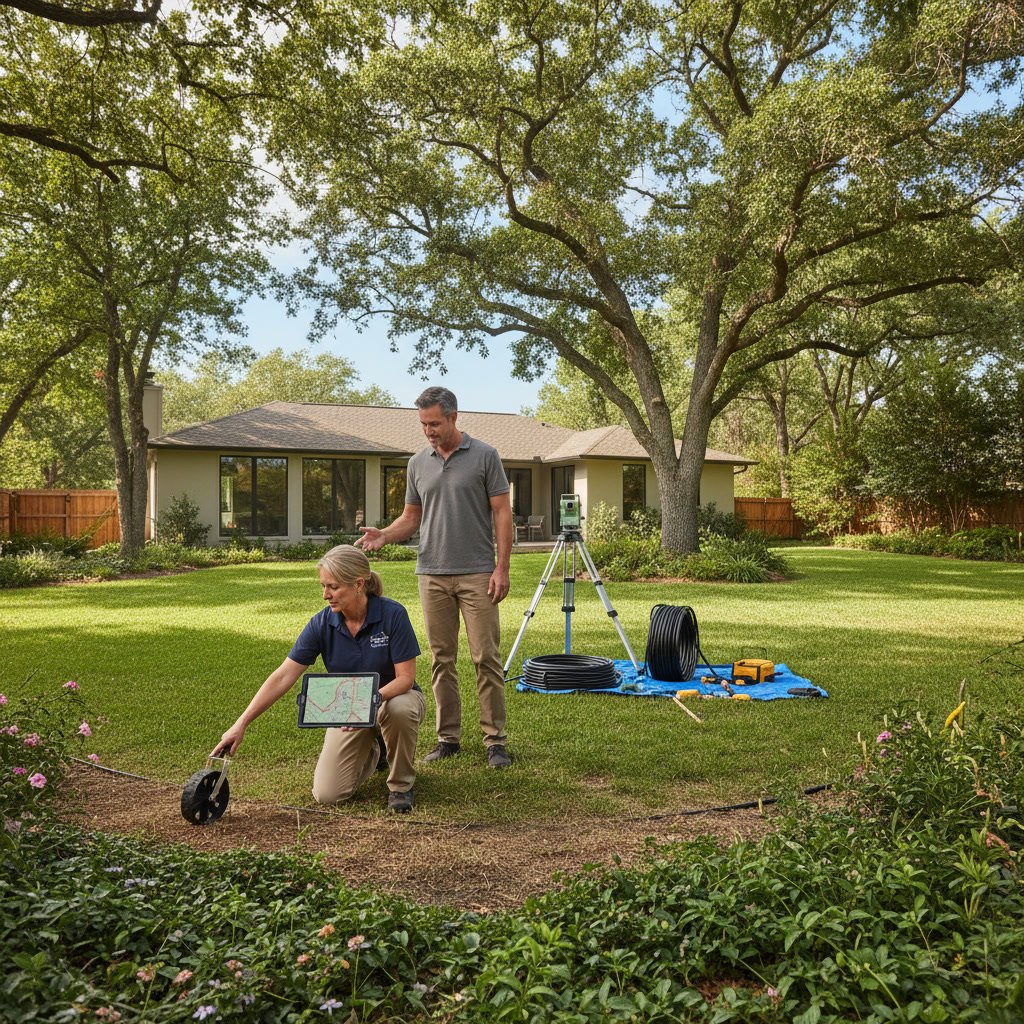
The process starts with a thorough property walk-through where an irrigation specialist maps existing utilities, measures water pressure at the source, and identifies soil types across different zones. This assessment typically takes 60 to 90 minutes and includes testing your static and dynamic water pressure, which determines how many zones can operate simultaneously.
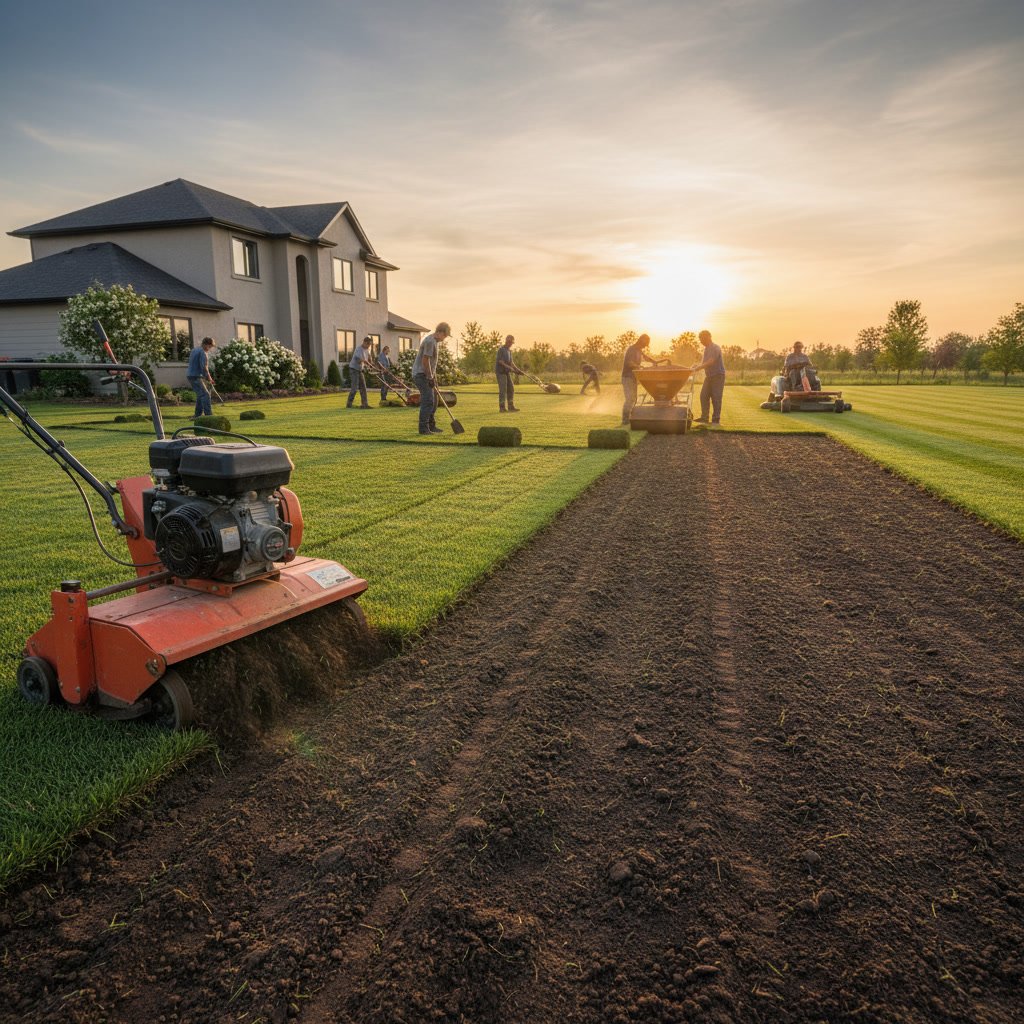
During this consultation, the designer documents sun exposure patterns, existing plant material, and future landscape plans. If you’re planning sod installation or other landscape changes, the irrigation system must accommodate those modifications. Properties in areas like Lindenhurst, NY often have established landscapes that require retrofitting around mature plantings and hardscape features.
Custom Design and Hydraulic Planning
After the site assessment, the designer creates a scaled drawing showing pipe routes, valve locations, sprinkler head placements, and the controller position. This blueprint includes hydraulic calculations that ensure adequate pressure reaches every head while staying within your water supply capacity. Professional designers account for elevation changes, which affect pressure by approximately 0.433 PSI per foot of elevation gain or loss.
The design also specifies pipe diameters, typically ranging from three-quarter inch for lateral lines to one and a half inches for main supply lines. Undersized pipes create friction loss that reduces pressure at distant heads, while oversized pipes waste money without performance benefits. This technical precision separates professional installations from amateur attempts.
Material Selection and System Components
Quality irrigation systems use commercial-grade components rated for underground burial and continuous pressure exposure. Key components include brass or stainless valve bodies, UV-resistant swing joints, and matched precipitation rate nozzles that apply water evenly across all heads in a zone.
Controller selection depends on property size and desired automation level. Basic timers offer manual programming, while smart controllers adjust watering based on weather data, soil moisture sensors, and seasonal plant needs. Many systems now integrate rain sensors that pause watering during precipitation, preventing the wasteful sight of sprinklers running in a storm.
Underground Installation and Pipe Routing
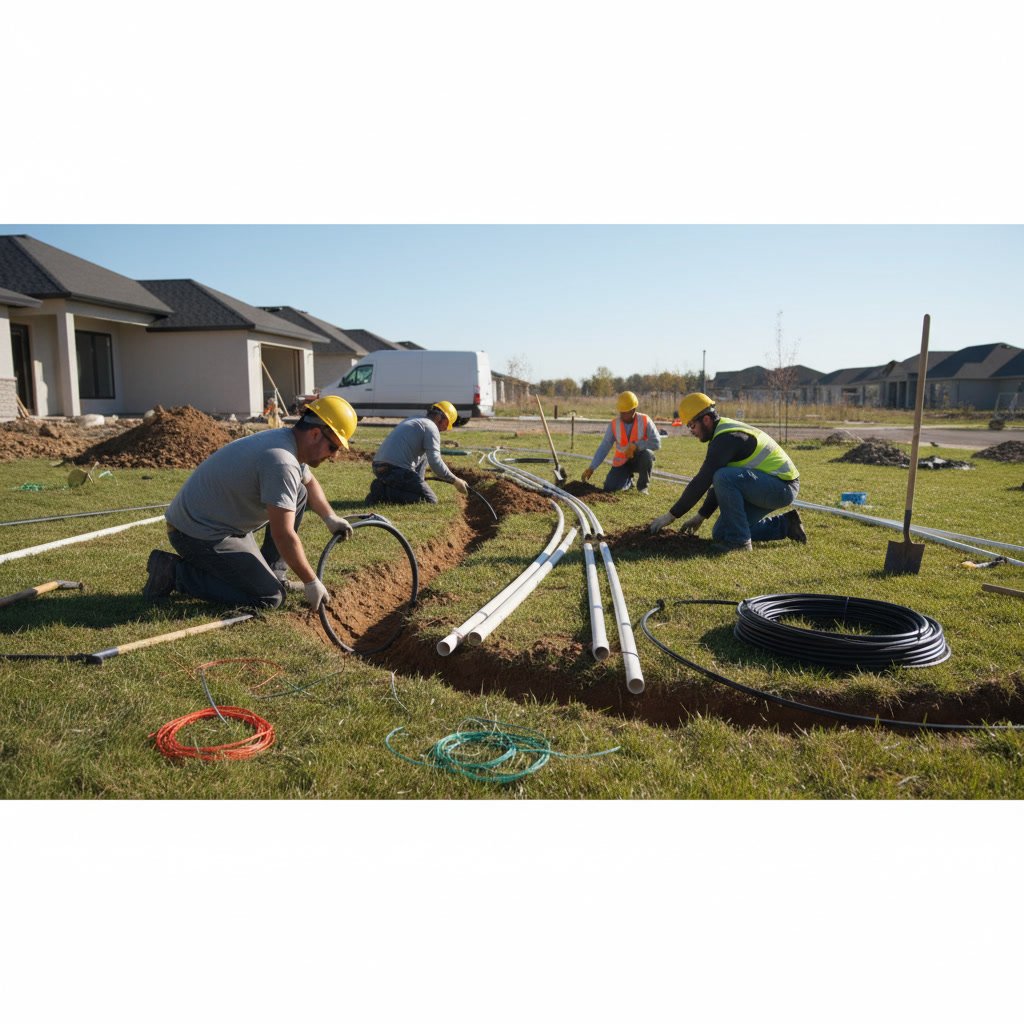
Installation begins with trenching along the designed pipe routes, typically dug six to eight inches deep for lateral lines and 10 to 12 inches for main lines. Installers use vibratory plows on open turf areas and hand trenching near established plants to avoid root damage. All pipes slope slightly toward drain valves to prevent winter freeze damage.
Valve boxes are positioned at accessible locations, usually near property edges or in planting beds where they remain hidden but reachable for maintenance. Each valve controls one zone, and proper installation includes gravel backfill around the box for drainage. The mainline connects to your water source with a backflow preventer, which is required by code in most municipalities to protect drinking water from contamination.
Sprinkler Head Installation and Coverage Patterns
Head placement follows the head-to-head spacing principle, where each sprinkler’s spray reaches the adjacent heads for complete overlap. Rotor heads for large turf areas typically space 25 to 35 feet apart, while spray heads in smaller zones space 12 to 15 feet apart. This overlap compensates for wind drift and ensures uniform coverage without dry spots.
Installers use swing joints beneath each head to allow for adjustment and protect against damage from foot traffic or maintenance equipment. Heads are set flush with finished grade, with the top of the nozzle matching the surrounding turf height. In planting beds, installers often use pop-up heads or drip irrigation, depending on plant density and water requirements. Similar attention to finished grade matters in projects like topsoil and grading work.
Controller Programming and Zone Scheduling
Once physical installation is complete, the controller is mounted in a protected location, typically a garage or exterior wall with weather protection. Programming involves setting run times for each zone based on soil type, plant material, sun exposure, and head precipitation rates. Sandy soils require shorter, more frequent watering cycles than clay soils, which absorb water more slowly.
Most residential zones run between 15 and 30 minutes per cycle, though this varies significantly based on conditions. Slopes benefit from cycle-and-soak programming, where the zone runs for 10 minutes, pauses for 30 minutes to allow absorption, then runs another 10 minutes. This prevents runoff and maximizes water infiltration. Just as outdoor lighting installation requires careful timing and placement, irrigation programming demands precision for optimal results.
System Testing and Pressure Adjustments
Testing begins with a zone-by-zone activation to verify coverage, check for leaks, and confirm proper head operation. Installers adjust individual heads by changing nozzles, rotating arc patterns, or modifying spray radius until every area receives adequate coverage without overspray onto hardscapes. This process typically takes two to three hours for an average residential system.
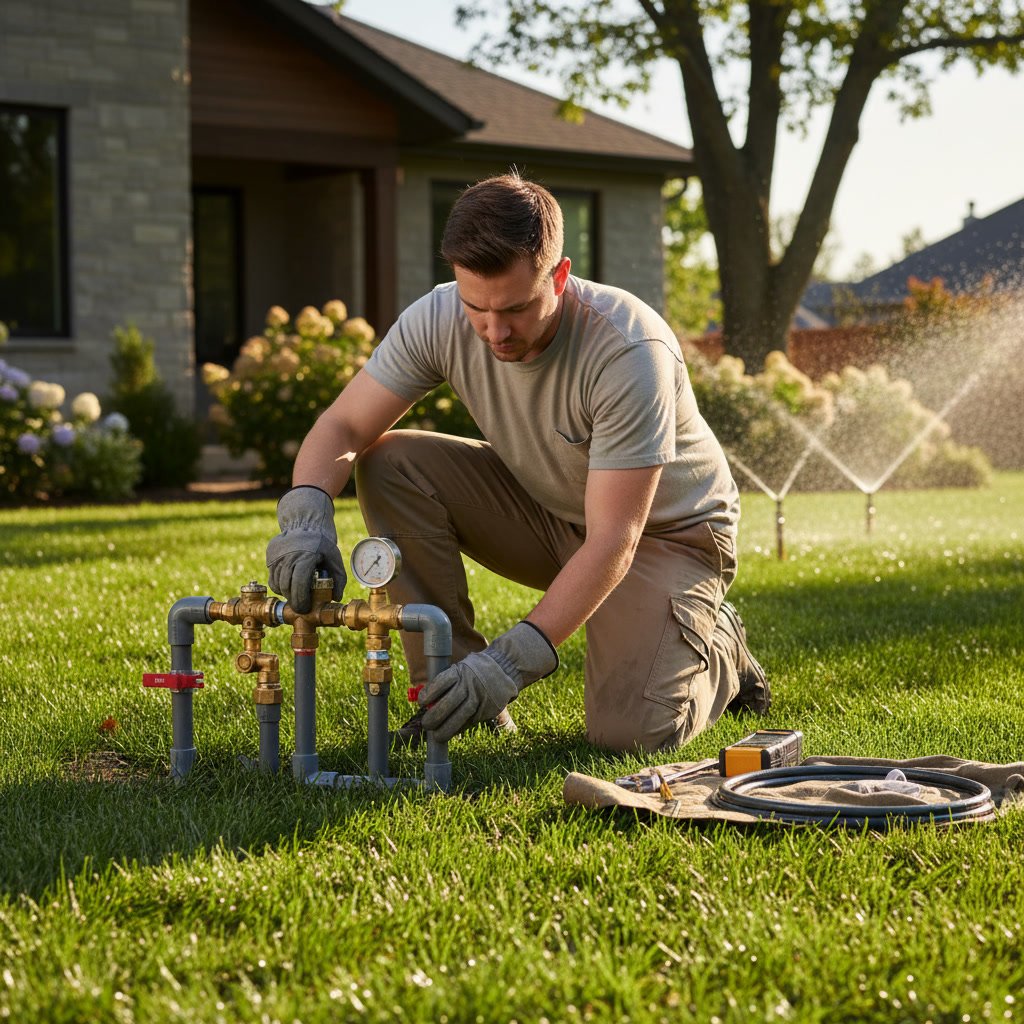
Pressure regulation is critical during testing. Heads operating above their rated pressure create misting and poor distribution, while low pressure causes donut patterns with dry centers. Installers add pressure regulators at valves when needed and may adjust flow rates using valve flow controls. Each zone should operate within the manufacturer’s specified pressure range, typically 30 to 50 PSI for spray heads and 40 to 65 PSI for rotors.
Winterization and Seasonal Maintenance Requirements
In climates with freezing winters, systems must be winterized each fall to prevent pipe damage. Professional winterization uses compressed air to blow water from all pipes, valves, and heads. This service typically costs between $75 and $150 but prevents thousands in freeze damage repairs. Spring startup involves recharging the system, testing all zones, and adjusting heads after winter settling.
Annual maintenance should include controller battery replacement, valve inspection for debris, and head cleaning to remove mineral deposits. Systems with filtration require periodic filter cleaning, especially in areas with hard water. Properties served by comprehensive property maintenance programs often bundle irrigation service with other seasonal tasks.
Common Installation Challenges in Established Landscapes
Retrofitting irrigation into mature landscapes presents unique obstacles. Installers must route pipes around established root systems, work within confined spaces, and match existing grade without disturbing plants. Rock or clay-heavy soil requires specialized trenching equipment and may extend installation time by one to two days.
Properties with multiple utility lines require careful locating before digging. Professional installers always call 811 for utility marking and use hand digging near marked lines. Hitting an electrical line, cable, or water service turns a routine installation into an expensive emergency. Existing water features may also require integration with the new irrigation system or special routing considerations.
Long-Term Performance and Water Conservation
A professionally installed system delivers consistent performance for 15 to 20 years with proper maintenance. The investment typically pays for itself within five to seven years through water savings, reduced plant replacement costs, and increased property value. Smart controllers with weather-based adjustments can reduce outdoor water use by 20 to 40 percent compared to timer-based systems.
Water conservation extends beyond technology to design choices. Grouping plants by water needs, using drip irrigation in planting beds, and selecting appropriate sprinkler types all contribute to efficiency. The most effective systems apply water at rates matching soil infiltration, preventing runoff while maintaining ideal soil moisture. Proper grading before installation, similar to work done during drainage correction projects, ensures water moves where intended without pooling or erosion.
Your Next Steps Toward an Efficient Irrigation System
Understanding the irrigation installation process helps you make informed decisions about system design, component quality, and contractor selection. Professional installation delivers precise coverage, water efficiency, and long-term reliability that DIY approaches rarely achieve. The technical expertise required for hydraulic calculations, proper pipe sizing, and zone optimization justifies the investment in professional service.
Clean Cut Landscaping LLC brings over a decade of experience to every irrigation design and installation project across Long Island. Our team handles everything from initial consultation through system testing and seasonal maintenance, ensuring your landscape receives optimal water coverage year after year. Contact us at +16315301109 to schedule your site assessment and discover how a properly designed irrigation system can transform your property care routine while conserving water and protecting your landscape investment.